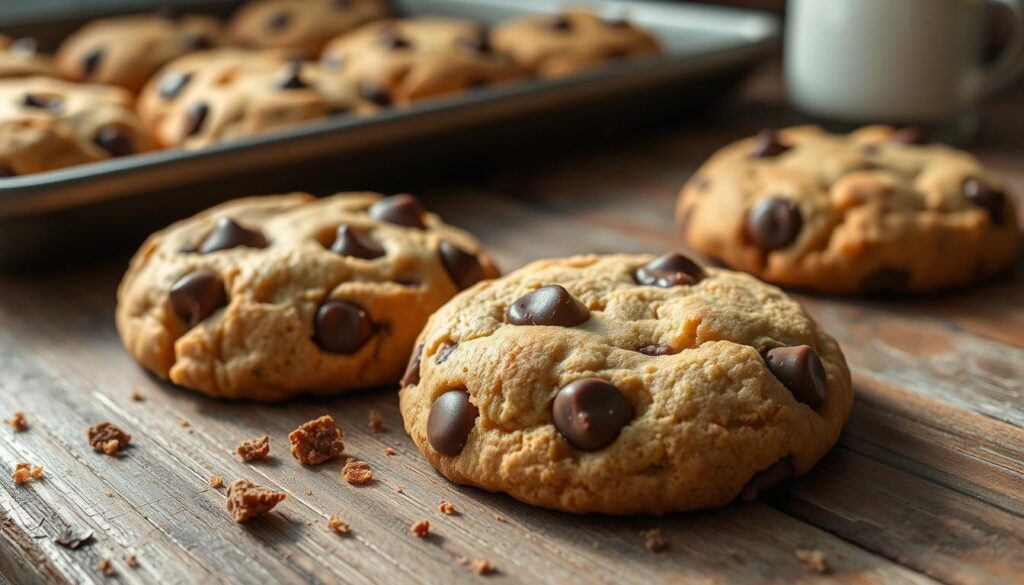
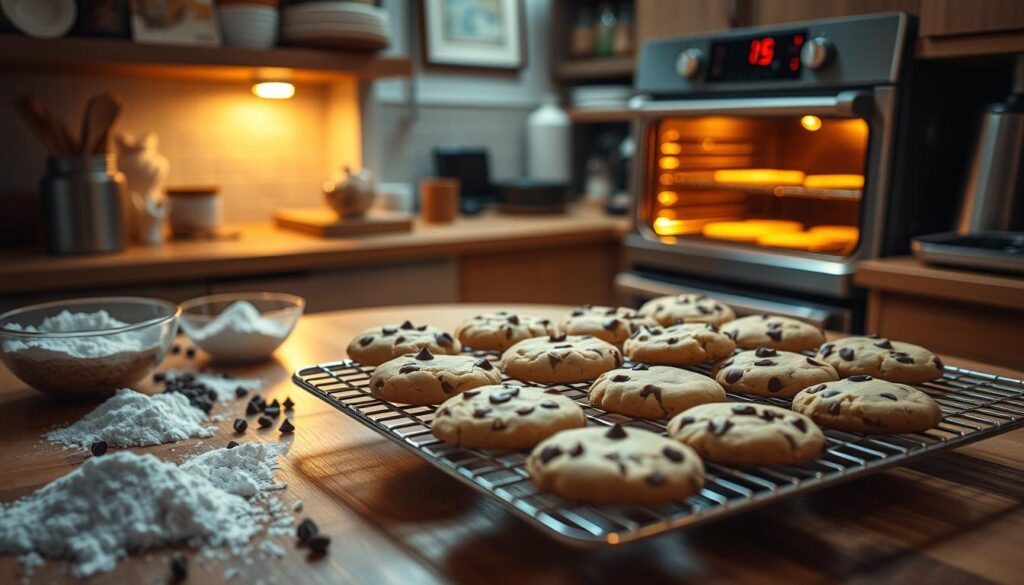
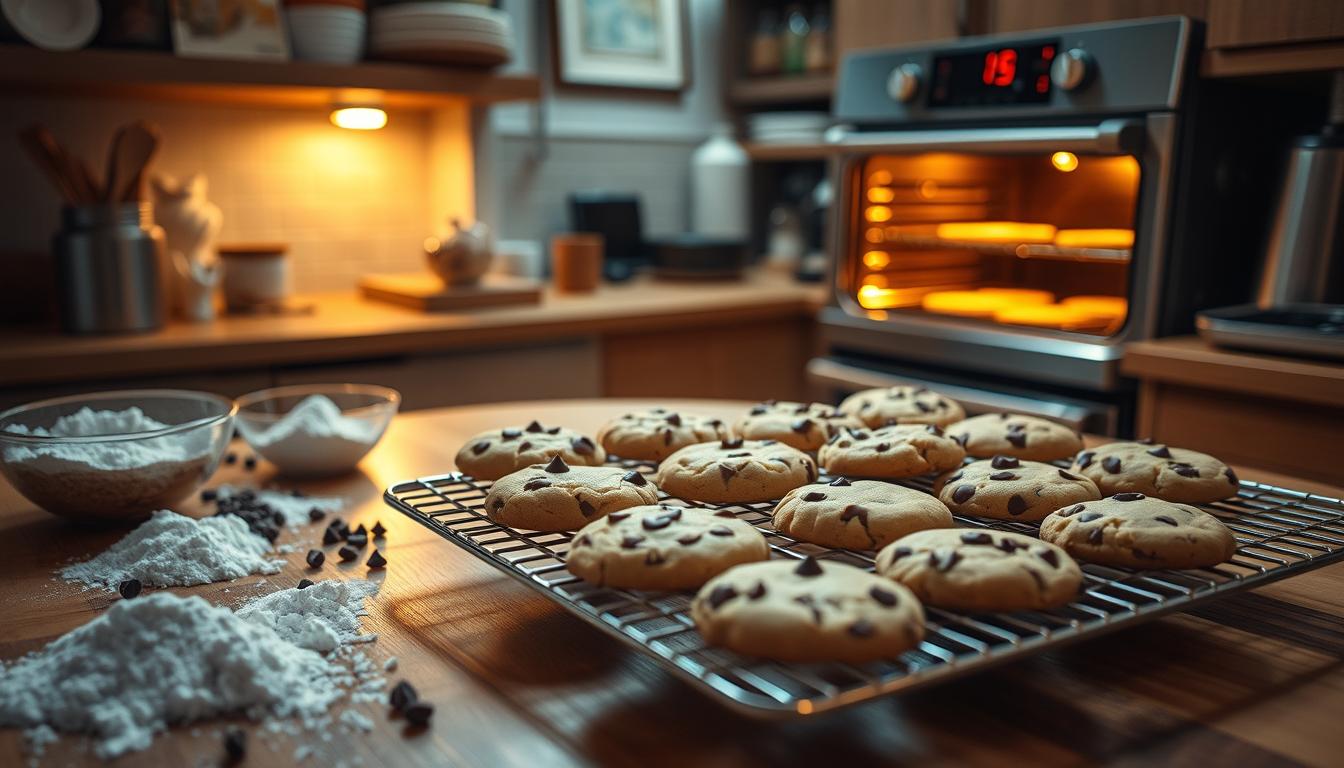
Growing up, the smell of Nestle Toll House cookies baking was always comforting. These classic chocolate chip cookies have become a staple in many American homes. They have touched the hearts of generations, leaving a lasting mark on our food memories.
As you start making your own Toll House cookies, let’s walk through the steps together. This will help you create this beloved recipe in your kitchen.

Table of Contents
Key Takeaways
- The Nestle Toll House cookie recipe is a classic American favorite made with basic pantry ingredients.
- Proper flour measurement is crucial for achieving the perfect cookie texture, with variations in methods leading to significant differences.
- Creaming the butter and sugars, incorporating the wet and dry ingredients, and adding chocolate chips are essential steps in the mixing process.
- Baking at the right temperature and for the appropriate duration ensures the cookies are golden brown and perfectly baked.
- Storing and freezing the cookies allows you to enjoy this timeless treat for weeks to come.
The Story Behind Toll House Cookies: Ruth Wakefield’s Invention
The Toll House cookies are a favorite in American culture. But do you know how they were made? They were created by Ruth Wakefield in the 1930s. She accidentally made the first chocolate chip cookies at the Toll House Inn in Whitman, Massachusetts.
Ruth Wakefield was baking butter drop dough cookies when she ran out of cocoa powder. She used a Nestlé semi-sweet chocolate bar instead. To her surprise, the chocolate chips didn’t melt. This created the first toll house cookie recipe.
Wakefield’s cookies quickly became popular. Soldiers from Massachusetts shared them during World War II. Soon, people all over were asking for the recipe. The chocolate chip cookie became a favorite American dessert, loved by many.
“The chocolate chip cookie is a symbol of comfort and tradition in American culture.”
The Toll House establishment has a long history. It was built in 1817, though some think it was in 1706. In 1930, Ruth and Kenneth Wakefield bought it for $6,500. It was then that the famous toll house cookie recipe was created.
The Toll House restaurant closed after a fire in 1984. But Ruth Wakefield’s invention lives on. The chocolate chip cookie is still loved today, showing American creativity and love for food.
Essential Ingredients for Perfect Toll House Cookies
Making the classic Nestle Toll House cookies needs the right ingredients. The recipe’s heart is in the essential parts that give each cookie its taste, texture, and look. From the butter’s creaminess to the chocolate’s bursts, every part is key to the perfect cookie.
The Role of Quality Butter and Chocolate Chips
Unsalted butter is the base of the Toll House cookie dough. It adds a rich flavor and tender texture. The butter’s fat helps the cookies melt in your mouth. Semi-sweet chocolate chips are the stars, adding sweet chocolate in every bite.
Understanding Flour Measurements
Getting the flour right is key for the Toll House cookie dough. The recipe needs 312 grams (or 2 1/4 cups plus 2 tablespoons) of all-purpose flour. This amount helps the cookies keep their shape, rise right, and get the chewy-yet-crisp texture.
Additional Ingredients and Substitutions
The Toll House cookie recipe also includes granulated sugar, brown sugar, vanilla extract, eggs, baking soda, and salt. You can try different chocolate chips or add white chocolate chips for a twist. If you skip the nuts, add 2 more tablespoons of flour to the dough.
| Ingredient | Role | Substitutions |
|---|---|---|
| Unsalted Butter | Provides richness, flavor, and tender texture | N/A |
| Granulated Sugar and Brown Sugar | Sweetens the dough, adds moisture, and contributes to chewiness and caramelization | Light brown sugar can be substituted for dark brown sugar |
| Vanilla Extract | Enhances the overall flavor profile with warm, aromatic notes | N/A |
| Eggs | Bind the ingredients together and add structure to the dough | N/A |
| Baking Soda | Helps the cookies rise and spread, resulting in a soft and chewy texture | N/A |
| All-Purpose Flour | Forms the base of the dough, providing structure and stability to the cookies | N/A |
| Semi-Sweet Chocolate Chips | Contribute sweet pockets of chocolate flavor | Milk chocolate chips, white chocolate chips, butterscotch chips, peanut butter chips, chocolate chunks, toffee bits, chopped nuts, candy pieces |
Knowing the role of each ingredient in the Nestle Toll House cookie recipe helps make these treats. They are sure to please your taste buds.
Kitchen Tools and Equipment Needed
To bake the classic Nestle Toll House cookies, you need some key baking tools and cookie-making equipment. These tools help with everything from measuring ingredients to baking evenly. Having the right tools can make a big difference.
- Mixing bowls in various sizes
- An electric hand mixer or a stand mixer for creaming the butter and sugar
- Measuring cups and spoons for accurately measuring the dry and wet ingredients
- A digital kitchen scale for precise flour measurement
- Rimmed baking sheets or cookie sheets
- Parchment paper or silicone baking mats
- A wire cooling rack for cooling the baked cookies
- A cookie scoop to ensure uniform cookie sizes
For the best results, use a digital kitchen scale to measure the flour. This ensures the right flour-to-ingredient ratio in the Nestle Toll House cookie recipe. It leads to perfect cookie texture every time.
“Using a cookie scoop ensures consistent size and shape of cookies, leading to even baking results and a polished appearance.”
With the right baking tools and cookie-making equipment, you’re ready to make the classic Nestle Toll House cookies in your kitchen.
The Science of Flour Measurement in the Nestle Toll House Cookie Recipe
Getting the flour measurement right is key to baking perfect Nestle Toll House cookies. The amount of flour can change the cookie’s texture and taste. Knowing the science behind measuring flour helps you make the best cookies every time.
Different Measuring Methods and Their Results
Several ways to measure flour were tested on the Nestle Toll House cookie recipe. The 120 grams per cup rule gave 270 grams of flour. The aerate, spoon, and level method gave 297 grams, and the scoop and level method gave 333 grams. This shows that using different methods can change the cookie’s texture and spread by up to 63 grams.
Weight vs. Volume Measurements
Nestle suggests using 281 grams of flour for their classic recipe. But tests show that 312 grams, including extra for no nuts, works better. This shows the value of weighing ingredients over volume measurements. Volume can change based on how the flour is packed into the cup.
Impact on Cookie Texture
Getting the flour measurement right is crucial for the perfect Nestle Toll House cookie texture. Too little flour makes cookies flat and spread out. Too much flour makes them dense and cakey. By using Nestle’s recommended flour amount or adjusting it, you can get the classic soft, chewy center with crisp edges.
“Baking is a science, and the way you measure your ingredients can make all the difference in the world.”
Preparing Your Kitchen and Ingredients
Before you start baking Nestle Toll House cookies, make sure your kitchen and ingredients are ready. Let all your ingredients, especially the butter, come to room temperature. This makes them mix better. Preheat your oven to 375°F (190°C) and line your baking sheets with parchment paper or silicone mats for easy cleanup.
Measuring your ingredients accurately is key for the perfect Toll House cookie texture. Use a kitchen scale to weigh your flour for the best results. This ensures the right balance of flour, which affects your cookies’ final taste and texture.
- Ensure all ingredients are at room temperature before starting
- Preheat oven to 375°F (190°C) and line baking sheets
- Weigh flour using a kitchen scale for precise measurement
- Prepare wet and dry ingredients separately before combining
Take the time to measure and organize your baking preparation and cookie ingredients before mixing. This attention to detail will help you make the perfect batch of Toll House cookies.
“Baking is like chemistry, and the key is to measure your ingredients precisely.”
– Julia Child, renowned chef and author
Mixing the Perfect Cookie Dough
Making the perfect cookie dough is key to baking amazing Nestle Toll House cookies. It involves the right cookie dough mixing and important baking techniques.
Proper Butter Temperature and Creaming
Begin by softening 226 g of unsalted butter at room temperature. It should be creamy. Then, mix the butter with 150 g of granulated sugar and 165 g of brown sugar for 1-2 minutes. Use a stand mixer or handheld electric beater.
This step adds air to the dough. It makes the cookies light and tender.
Incorporating Wet and Dry Ingredients
After that, add 2 large eggs one at a time. Beat well after each egg. Then, add the vanilla extract.
Slowly mix in the dry ingredients. These are 280 g of all-purpose flour, 1 tsp of baking soda, and 1/2 tsp of salt. Mix until just combined.
Finally, fold in 340 g of Nestle Toll House chocolate morsels and 125 g of chopped nuts if you like. Don’t overmix. It can make the cookies tough and dense.

By following these steps for cookie dough mixing and using the right baking techniques, you’ll make the perfect Nestle Toll House cookie dough. It’s ready to be portioned and baked to perfection.
Shaping and Portioning Cookie Dough
Getting the perfect Nestle Toll House cookie starts with shaping and portioning the dough right. Use a 2-tablespoon cookie scoop (size 50) for uniform sizes. This ensures your cookies bake evenly.
Place the dough balls 2-2.5 inches apart on the baking sheet. This space lets them spread right during baking. For chewier cookies, chill the dough in the fridge for 10 minutes before baking. This keeps them soft and prevents too much spreading.
Freezing portioned dough balls is another great tip. It saves time and lets you bake cookies whenever you want. Just thaw the frozen dough balls and bake as the recipe says, adding a minute or two.
- Use a 2-tablespoon cookie scoop for consistent sizes
- Space dough balls 2-2.5 inches apart on the baking sheet
- Chill dough for 10 minutes to prevent excessive spreading
- Freeze portioned dough balls for easy, on-demand baking
Mastering cookie dough shaping and baking tips will help you make perfect Nestle Toll House cookies every time.
Baking Temperature and Timing Guidelines
To get the perfect Toll House cookies, follow these baking tips. Preheat your oven to 375°F (190°C). Bake the cookies for 9-11 minutes. They should have golden brown edges and slightly soft centers for a chewy feel.
Signs of Perfect Doneness
Here’s how to know your Toll House cookies are done right:
- Golden brown edges
- Slightly underbaked centers for a chewy consistency
- Puffy, soft appearance in the middle
Cooling Process Tips
Let the cookies cool on the baking sheet for 2-5 minutes. Then, move them to a wire rack. This step helps them set and prevents breaking or crumbling.
| Statistic | Value |
|---|---|
| Servings | 34 cookies |
| Prep Time | 15 minutes |
| Cook Time | 30 minutes |
| Total Time | 45 minutes |
| Temperature | Preheat the oven to 375°F |
| Baking Time | 9-11 minutes |
| Freezing Time | Up to three months for baked cookies or individual dough balls |
| Storage Time | 3-5 days at room temperature |
| Chilling Time | 10 minutes in the fridge for dough to spread less |

By sticking to these tips, you’ll bake the perfect batch of baking cookies with the perfect cookie doneness. Enjoy your delicious Toll House cookies!
Storage and Freezing Methods
After baking your Nestle Toll House Cookies, it’s important to store them right. Keep them in an airtight container at room temperature for 3-5 days. Adding a piece of bread can help keep them soft.
To store them longer, freeze the cookies for up to 3 months. Put them in a container or bag that’s safe for the freezer. When you want to eat them, thaw them at room temperature.
Freezing the dough is another option. Just portion it into balls and freeze them for up to 3 months. Let the frozen dough sit at room temperature for 30 minutes before baking. Always label your containers with the date and baking instructions.

