The smell of fresh bread in your kitchen is a simple joy, and a good sandwich bread recipe can make any day feel special. When you slice into a warm loaf of homemade sandwich bread, you’re not just making a meal—you’re creating a moment.
That first bite of a sandwich made with your own bread is satisfying. It brings a sense of pride and comfort. Store-bought bread just can’t compare.
This easy sandwich bread recipe is more than just food. It’s about enjoying the simple pleasure of making something wholesome by hand. Whether you’re an experienced baker or just starting out, this recipe will help you make the perfect loaf. You can use it for sandwiches, toast, or just with butter.
With just a few simple ingredients and some patience, you’ll get two loaves of soft, fluffy sandwich bread. This bread is free from additives and preservatives. It’s not only delicious but also affordable. You can enjoy homemade goodness without spending a lot.
Table of Contents
Key Takeaways
- Homemade sandwich bread offers superior taste and texture
- This recipe yields two loaves with simple ingredients
- Total preparation time is about 2 hours, including rising
- The bread stays fresh when stored properly and freezes well
- Customizable recipe allows for whole wheat flour substitution
- Perfect for both novice and experienced bakers
Understanding Sandwich Bread Fundamentals
Sandwich bread is key to a great sandwich. It’s soft and even, perfect for slicing. Let’s explore what makes it special and the science behind its texture.
What Makes Sandwich Bread Different
Sandwich bread is a mix of lean and rich breads. It has a 5:3 flour to water ratio, plus sugar and fat. This mix enhances flavor and texture for sandwiches.
The Science Behind Perfect Texture
The secret to its texture is in the ingredients and how it’s made. Bread flour helps build its structure. Olive oil adds moisture, and salt controls fermentation and gluten strength.
Lean vs Enriched Dough Explained
Sandwich bread is enriched dough. It has more ingredients than lean doughs, like sugar, milk, and fat. This makes it soft and keeps it fresh longer.
| Dough Type | Key Ingredients | Texture | Shelf Life |
|---|---|---|---|
| Lean Dough | Flour, water, salt, yeast | Crusty, chewy | 1-2 days |
| Enriched Dough | Flour, water, salt, yeast, sugar, milk, fat | Soft, tender | 3-5 days |
Knowing about sandwich bread basics and dough types will help you make the perfect sandwich bread.
Essential Equipment and Ingredients
Making the perfect sandwich bread needs the right tools and ingredients. Let’s look at what you need for a soft, fluffy loaf perfect for any meal.
Required Kitchen Tools
To begin your bread-making journey, collect these essential tools:
- Large mixing bowl
- Stand mixer with dough hook
- 9×5-inch loaf pan
- Measuring cups and spoons
- Bread machine (optional, for 2lb loaf capacity)
Key Ingredients and Their Roles
The main ingredients in your sandwich bread recipe are:
| Ingredient | Role | Amount |
|---|---|---|
| All-purpose or bread flour | Structure and texture | 6 cups |
| Instant yeast | Leavening agent | 2 tablespoons |
| Warm water | Hydration | 2 cups |
| Salt | Flavor enhancer | 1 tablespoon kosher or 1½ teaspoons table |
| Olive oil | Texture and moisture | ¼ cup |
Ingredient Substitutions Guide
Need a substitute? Try these options:
- Use milk instead of water for richer flavor
- Replace olive oil with melted butter
- Substitute honey for granulated sugar
- Experiment with different flour types for bread, like whole wheat (adjust water as needed)
Remember, using high-quality ingredients is crucial for a perfect loaf. With these basics, you’re set to start your sandwich bread baking adventure!
The Best Sandwich Bread Recipe for Beginners
Looking for an easy sandwich bread recipe? You’re in the right place! This beginner bread recipe is perfect for those new to baking. With just six simple ingredients, you’ll create a classic white sandwich bread that brings back childhood memories.
This basic bread recipe is dairy-free and egg-free, making it suitable for various dietary needs. You can knead the dough by hand or use a mixer, whichever you prefer. The recipe uses olive oil instead of milk or eggs, creating a delicious and foolproof loaf.
Let’s break down the key elements of this beginner-friendly sandwich bread:
- Ingredients: All-purpose flour (King Arthur Baking recommended), instant yeast, Diamond Crystal Kosher Salt, warm water (90°-95°F), sugar, and olive oil
- Equipment: 9×5″ metal loaf pan (preferred over glass, ceramic, or silicone)
- Prep Time: 20 minutes
- Cook Time: 25 minutes
- Servings: 12
The dough for this easy sandwich bread recipe has a medium-low hydration level, making it manageable for beginners. After mixing and kneading, let the dough rise for 1½-2 hours. Shape the loaf, allow it to rise again for 45-60 minutes, then bake at 350°F for 25-30 minutes.
| Step | Time |
|---|---|
| First Rise | 1½-2 hours |
| Bench Rest | 20 minutes |
| Second Rise | 45-60 minutes |
| Baking | 25-30 minutes |
Your bread is done when it reaches an internal temperature of 190℉-200℉. Once cooled, enjoy your homemade sandwich bread within 4-5 days or freeze for longer storage. With this basic bread recipe, you’ll be a bread-making pro in no time!
Mastering the Yeast Activation Process
Yeast activation is key in bread making. Knowing about different yeasts and solving common problems can make your sandwich bread great.
Working with Active Dry Yeast
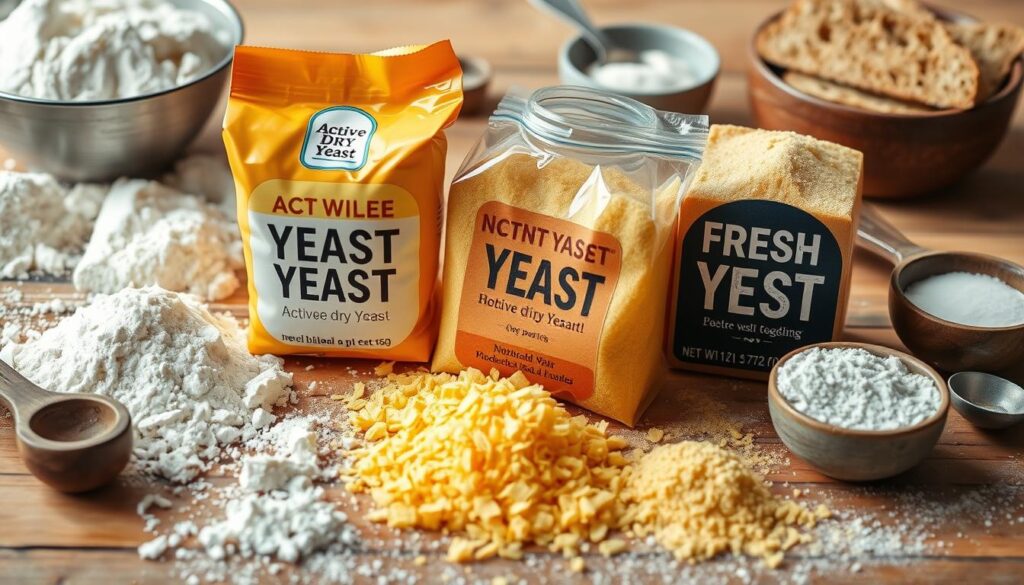
Active dry yeast needs to be activated before use. Mix it with warm water (100°F / 38°C) and a bit of sugar. Wait 5-10 minutes for it to get foamy. This step makes sure your yeast is active and ready for your dough.
Understanding Instant Yeast
Instant yeast saves time. You can add it straight to your dry ingredients without activation. For our sandwich bread, use 1 tablespoon of instant dry yeast. It’s great for beginners because it makes the process easier.

Troubleshooting Yeast Issues
Yeast troubleshooting is crucial. If your dough isn’t rising, check these things:
- Water temperature: Too hot (above 120°F / 49°C) can kill yeast
- Yeast freshness: Old or expired yeast won’t activate properly
- Sugar content: Yeast needs sugar to feed on
- Salt timing: Adding salt directly to yeast can inhibit its growth
Proper yeast activation is vital for a perfect rise in your sandwich bread. With these tips, you’ll be on your way to baking success!
Kneading and Dough Development Techniques
Mastering bread kneading techniques is key for the perfect sandwich loaf. It ensures a soft, fluffy texture and the best rise. Let’s dive into the main points of this process.
Kneading time depends on your method. A stand mixer works for 10 minutes, or knead by hand for 15-20 minutes. Hand kneading lets you feel the dough better, reducing over-kneading risk. Beginners often choose the KitchenAid Stand Mixer.
As you knead, look for signs of good gluten formation. The dough should be smooth, stretchy, and pliable. It should form a soft ball and clean the bowl sides. To check readiness, try the windowpane test: stretch dough until light shines through without tearing.
| Kneading Method | Time | Advantages |
|---|---|---|
| Stand Mixer | 10 minutes | Efficient, consistent |
| Hand Kneading | 15-20 minutes | Better dough feel, less risk of over-kneading |
Proper kneading makes bread softer, fluffier, taller, and chewier. It’s worth the effort for delicious homemade sandwich bread.
The Art of Proper Dough Proofing
Mastering bread proofing is key to creating the perfect loaf. This step lets your dough rise and develop flavor. We’ll look at the basics of dough rising and how to control proofing temperature for the best results.
First Rise Guidelines
The first rise, or bulk fermentation, takes 1 to 4 hours at warm temperatures. Your dough should double in size. For a more complex flavor, try cold proofing in the fridge for 8 to 16 hours.
Second Rise Tips
The second rise lasts about an hour after shaping. This stage is key for the right texture. Use the poke test to check if it’s ready: gently press the dough with your finger. If it springs back slowly, it’s ready to bake.
Temperature and Environment Control
Proofing temperature greatly affects bread quality. Aim for 80°F (26°C) in warm kitchens or 39°F (4°C) in refrigerators. Warmer temps speed up fermentation, while cooler ones slow it down, impacting flavor.
| Proofing Method | Temperature Range | Duration | Flavor Profile |
|---|---|---|---|
| Warm Proofing | 75-85°F (24-29°C) | 1.5-3 hours | Milder, less sour |
| Cold Proofing | 39-50°F (4-10°C) | 8-16 hours | Complex, more sour |
By mastering these bread proofing techniques, you’ll be well on your way to baking perfect loaves every time. Remember, practice makes perfect. Don’t be afraid to experiment with different proofing times and temperatures to find your ideal bread-making process.
Shaping Your Loaf for Perfect Results
Mastering bread shaping is key to making the perfect sandwich loaf. The shaping step, the sixth in bread-making, turns your dough into its final form before baking. Let’s dive into the art of shaping sandwich loaves and bread to improve your baking.
Step-by-Step Shaping Guide
Here are the steps for a well-shaped sandwich loaf:
- Gently stretch your dough into a rectangle
- Roll from the short end to create a log shape
- Place the loaf seam-side down in your pan
- For a neater shape, fold rectangle ends to the middle
- Seal and pinch the sides, then flip
- Tuck the ends under for a smooth finish
Common Shaping Mistakes
Avoid these common mistakes when shaping your sandwich bread:
- Shaping too tightly, leading to dense bread
- Neglecting to create a tight outer skin
- Inconsistent shaping techniques
- Overhandling the dough, causing deflation
Remember, pan loaves are great for sandwiches and toast. They support higher hydration and mix-ins. Using the right bread forming techniques will give you a well-risen, puffy loaf perfect for any meal.
| Loaf Type | Shaping Method | Proofing Position |
|---|---|---|
| Sandwich Loaf | Roll and tuck | Seam-side down in pan |
| Bâtard | Fold and seal | Seam-side up in basket |
| Boule | Round and tighten | Seam-side up in basket |
Baking Tips for Golden Brown Perfection
Getting a golden crust on your sandwich bread is an art. Start by preheating your oven to 350°F. This temperature ensures even cooking and that perfect golden hue. For an extra touch of brilliance, brush the loaf with an egg wash before baking.
Make sure to have a timer ready. Bake for 30 to 35 minutes, keeping a watchful eye. If the top browns too quickly, cover it with foil. This protects the crust while allowing the inside to finish cooking.

To check if it’s done, tap the bottom of the loaf. A hollow sound means it’s ready. For precision, use a thermometer. The internal temperature should reach 195-200°F. Let the bread cool completely before slicing to maintain its texture.
“A well-baked loaf is music to the ears and a feast for the eyes.”
| Baking Step | Time | Temperature |
|---|---|---|
| Preheat Oven | 15 minutes | 350°F |
| Baking | 30-35 minutes | 350°F |
| Cooling | 1 hour | Room temperature |
Remember, patience is key. Allow your bread to cool fully before slicing. This final step ensures you’ll enjoy the perfect texture in every bite of your homemade sandwich bread.
Storage and Freshness Tips
Learning how to store bread is crucial for enjoying your homemade sandwich loaves. We’ll look at ways to keep your bread fresh and tasty for a longer time.
Proper Storage Methods
Let your bread cool completely for 1-2 hours after baking. This step prevents a soggy center. Store your homemade bread in a paper bag or a well-ventilated bread box at room temperature for up to 3 days. Store-bought bread can stay fresh for 3-7 days.
Don’t put bread in the fridge. It makes bread stale faster.
Freezing Guidelines
Freezing bread is a great way to keep it fresh longer. Wrap your loaf in foil and put it in a freezer bag for up to 3 months. Freezing individual slices is also convenient.
When you’re ready to eat, thaw at room temperature or toast frozen slices. This method keeps bread fresh and stops it from getting stale.
Extending Shelf Life
Baking sourdough bread can help it last longer. It stays good for a week or more. Recipes with more fat content also keep longer.
Whole grain loaves often taste better 2-3 days after baking. By following these tips, your sandwich bread will stay fresh and delicious for every meal.

